Seasonal Flowers Spotlight- The Anemone- 5 easy steps to grow beautiful anemone flowers

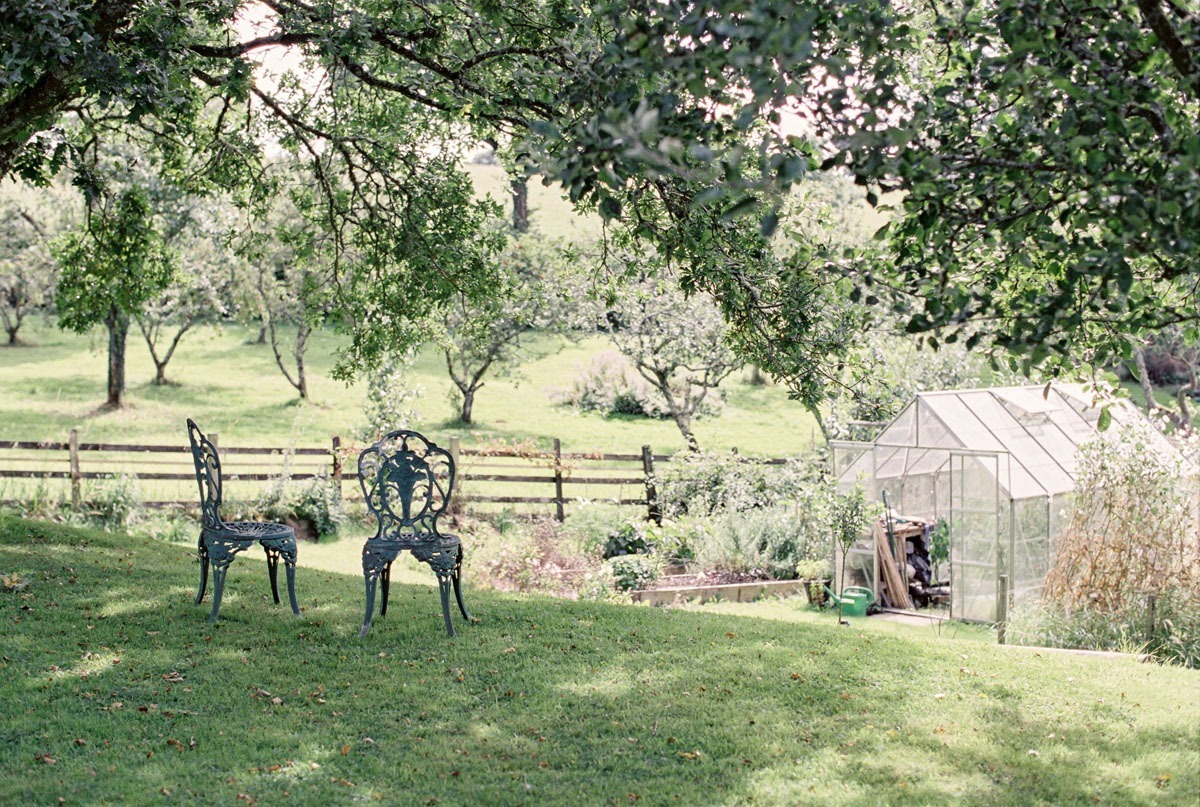
On our Devon flower farm, it has been trying (and succeeding somewhat) to snow for the past few days. Tucked up inside I thought I’d begin a spotlight series on my favourite seasonal flowers. We grow lots of beautiful, seasonal flowers here at Holly Bee flowers. Based in Devon, we have a pretty mild climate, but with heavy clay soil and lots of rain too (so it’s not plain sailing). If you’d be interested in a more in-depth grow-a-long, shoot me an email. I’d love feedback.
1.Soak the Anemone corms to wake them up from dormancy
When you receive your corms, they’ll be dry. When you want to start planting- I start around the end of September into October (as you want to get them in the ground before it freezes up and becomes unworkable)- you need to soak them. This requires you to place the corms in water that’s aerated (so I leave a tap gentle running over the bucket of corms). I also add a few drops of lemon balm oil or tea tree oil. This is mainly just habit, I started as I hoped it was a deterrent for rodents- they love the corms. And now I do it every year. Who knows whether it works or not, but it makes me happy! You need to soak the corms for around 6 hours, changing the water every few hours or so along the way. Trust me all this effort will be worth it.

2.Pre- Sprout your Anemone corms
As I mentioned- rodents love anemone, but mostly when they haven’t started growing yet. To give the corms the best possible chance of growing and flowering, and not being munched by a mouse, pre- sprouting is a must. Take your soaked corms and pot them up in dry compost or vermiculite (dry as they’re easy to rot, and they’ll retain a bit of moisture from the soaking, so damp compost isn’t necessary). Place the corms on about 1cm of compost, and cover. I keep mine in an unheated greenhouse, and in a couple of weeks they should have started to grow. You can always check their progress- you’re looking for little white root, then eventually green shots.

3.Plant out the Anemone Corms
At Holly Bee flowers we have a polytunnel, and this is where the majority of our anemone flowers grow. However! Don’t panic, in my experience, anemones are remarkably tough, and we also plant a lot outside too- to stagger our flowering period (the outside corms will flower later than the polytunnel ones). And you can leave these in the ground and flower for a few years. Anemones won’t flower year on year on year, but you’ll get a few years of flowering from the same corm. They aren’t too fussy on soil types either, we are on heavy clay and they still flower.

4. Feeding your Anemone Plants
Once your corms are planted, they will carry on growing. Keep an eye out for mildew and aphids. The best advice I have to combat these problems is to ventilate, and also feed. Anemones are hungry plants, once they’re starting to bud up, feed them to encourage strong growth and repeat flowers. And also, this will give you tough plants- less likely to get aphids. Don’t feed, or water too much when initially planting. Rotting corms is still possible at this stage!

5.Picking your Anemone flowers
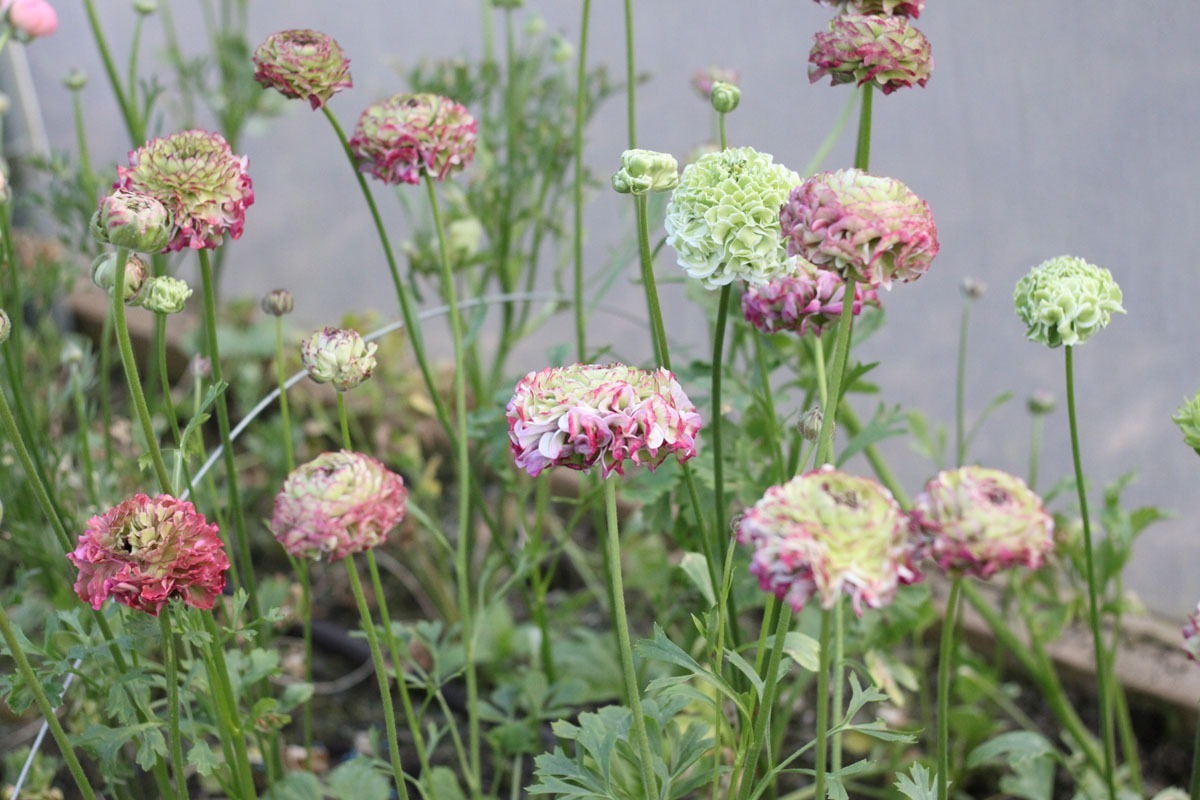
Finally, flowers! Pick anemones when in bud, place into water, and leave for 6+ hours to have a good drink. Then they’re ready to use and enjoy. Anemone varieties will vary what flowers you get, look for galilee pastel- this is an absolute winner in my opinion. Lots of muted, pastel shades that blend beautifully. I think they’re started to be more easily available in the UK too, so you should be able to find.

If anyone has any questions, feel free to contact me. After hellbores, these are our first flowers, from about March time. I’d love to know your experience too with growing these too. Holly x